[JobEngine] Manage content
1. Jobs:
Job types and categories:
To add or delete any Job Types or Categories, do following instructions mentioned in the “Set up Post a job form” section above.
Pending Jobs:
Enabling this option makes a new job post must be approved by admin before appearing on the front page.

Pending Jobs After Being Editted:
Enabling this option makes an edited job post must be approved by admin before appearing on the front page.

New Post Alert
In this section, you can enter the email which you want notifications of new job posts to be sent to.

2. Resumes:
There are some features related to Resumes section that you can set up by choosing Engine Settings > Resumes. Let’s take a look through them.
General:
- Turn the feature on:
This option enables you to decide whether the Resumes section appearing on your website or not. If it is unnecessary, you can turn off by disabling it.

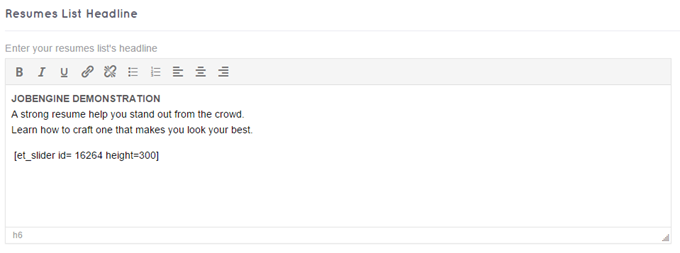
- Headline of Resumes list:
The headline is important for any written materials because they play a role in attracting views. To make your Resumes list catch the users’ eyes, first of all, you should think of a headline with suitable, unique and appealing content and then add it Resumes List Headline section. You can see it in the photo below:
And in the front page, you will see it like in the below photo:

- Login to view Resume
You can limit the people seeing resumes by this feature. So when enabling this, the users have to log in to see resumes.

Content:
- Create contract types list for the resumes:
These contract types will support the employers to filter resumes which are suitable for their job offer. When creating resumes, job seekers are required to choose one type that their resumes belonging to.
To create a list of contract types, choose Engine Settings > Resumes > Content > Available for. Then type the name of the new type in the last box and do not forget to click “+”.

If you want to delete any available types, click “x” beside them to complete the action.

You can also set the color for each type by clicking the symbol before the name and choose a color you want.

- Create Resumes categories:
Like the Contract types, Resumes categories also support filter function for employers and this is a required field that job seekers have to fill in.
To create a list of categories, do the same as Contract types section by adding name in the last box and clicking “+” when you want to add the new one. Or choosing “x” besides the name if you want to delete it. However, there is a difference point in this section compared to the Contract types one is that you can create the subcategories. To add a subcategory, you click “+” besides the main category name.

- Pending resumes:
To control the new created resumes, you ought to enable this feature, so all new resumes need to be approved by you before appearing on the website

Payment:
This is another field besides Post a job that you can charge employers.
Firstly, to use this function, you need to follow these steps: Engine Settings > Resumes > Payment > Pay to view the resumes > Enable.

After that, you create payment plans.
- Add a new payment plan:
You enter the plan name, price, and duration. Click Save Plan after inputting plan information.

- Edit an available plan:
To edit an available name, click the pen symbol beside the name of that plan.
 - Delete an available plan
To delete a plan, click “x” next to the pen symbol.

- Reorder plans
To reorder plans, click the symbol in front of the plan name and drag it to the new order.

Mailing:
You can create your own mail template for Jobseeker registration confirmation, Job application confirmation, Resume approved, Resume rejected, Contact jobseeker. Enable any section on the above list, the mail template for it will be sent to the users.
You do follow these steps to create the template: Engine Settings > Resumes > Mailing. Enable the section you want to send mail. Click the name of plan and the box to enter template would appear.
