3.12. How to set up payment via Authorize.Net
Payment Processing
MjE Authorize.Net accepts payments by Credit and Debit Card.
- All major credit cards: Visa, MasterCard, American Express, Discover, Diner’s Club, JCB
- Signature Debit Cards
Locations
You can accept payments from anywhere in the world. However, your business must be based in the United States, Canada, United Kingdom, Europe or Australia.
Requirements:
- MicrojobEngine 1.3.2+
- PHP 5.5+
MjE Authorize.Net Back-end Settings
1. Install and activate MjE Authorize.Net Extension
- From your Dashboard, go to Plugins → Add New to add MjE Authorize.Net plugin.
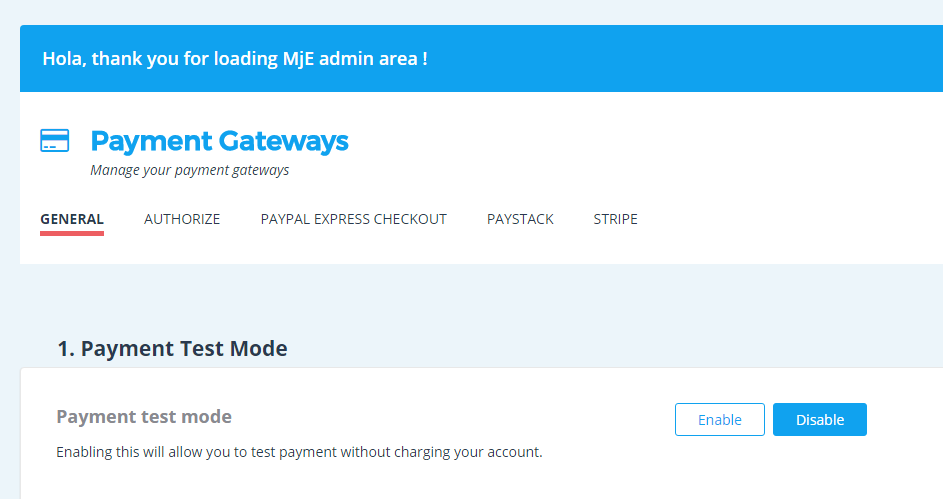
- Enable/Disable payment test mode feature You can select to either enable or disable payment test mode feature, allowing you to test payment without any charge.
- Authorize.Net settings
- Log into your Merchant Interface at https://account.authorize.net.
- Click Account from the main toolbar.
- Click Settings in the main left-side menu.
- Click API Credentials & Keys.
- Log into the Merchant Interface at https://account.authorize.net.
- Click Account from the main toolbar.
- Click Settings on the main left-side menu.
- Click API Credentials & Keys.
- Select New Signature Key.
- To disable the old Signature Key, click the check box labeled Disable Old Signature Key Immediately.
- If the Disable Old Signature Key check box is not selected, the old Signature Key will automatically expire in 24 hours. This will also impact any use of the Signature Key for transaction response validation for the SHA2 field. If the old Signature Key is not expired the previous key will continue to be used for the hash/response validation.
- Click Submit to continue.
- Request and enter PIN for verification.
- Your new Signature Key is displayed.
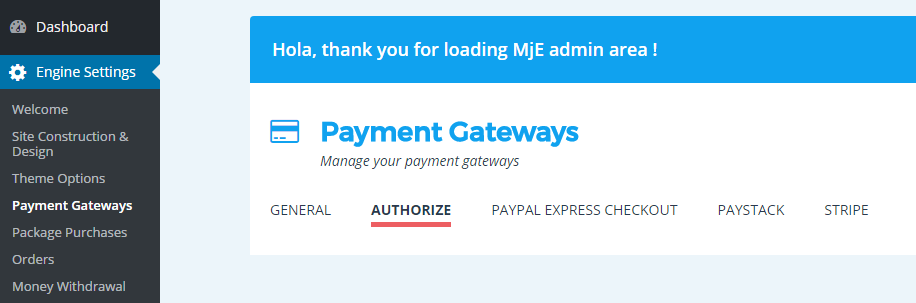
In this section, you have to enable Authorize payment gateway, enter the Authorize API, including the API Login Id and Transaction Key (in case you disable the Payment Test Mode feature), provide MD5 Hash Value, and select Transaction Type as well as modify the successful payment text.
Get Authorize.Net API Login Id & Transaction Key
Here are the steps to help you get the Authorize.Net Live API Keys:Then, select New Transaction Key to get the transaction key. Then, click Submit to continue. Your new Transaction Key is displayed.
*Note: When obtaining a new Transaction Key, you may choose to disable the old Transaction Key by clicking the box titled, Disable Old Transaction Key Immediately. You may want to do this if you suspect your previous Transaction Key is being used fraudulently.
Generate your Signature Key


Don’t forget to copy and paste this value to the Signature Key to Authorize API section
